Ever dreamed of having an endless supply of berries in your garden?
Imagine picking fresh, juicy berries straight from the bush—without spending a fortune on new plants. The secret? Cuttings! Easy and quick way to have an abundant garden with tons of berries – WARNING! – you will need extra holidays to pick all of the fruits!

Growing berries from cuttings is one of the easiest, cheapest, and most rewarding ways to expand your garden. Whether it’s blackberries, currants, or blueberries, you can propagate your own plants with just a few simple steps. Let’s dive in!

Why Grow Berries from Cuttings?
✅ It’s Free! No need to buy new plants—just take a few cuttings and multiply what you already have.
✅ It’s Fast! Many berry plants grow roots within weeks and are ready for transplanting in just a season.
✅ It’s Simple! No special tools required—just a pair of shears, soil, and a little patience.

What You Need
Before getting started, gather these essentials:
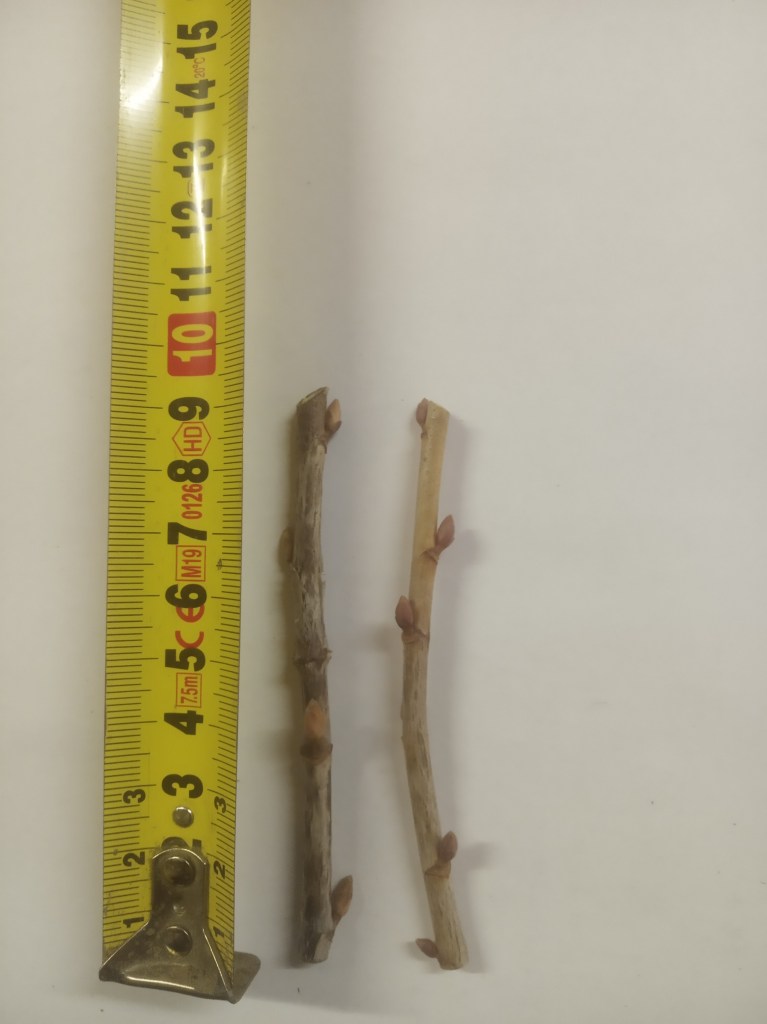
🔹 Sharp pruning shears – to take clean cuts
🔹 Rooting hormone (optional, but speeds up the process)
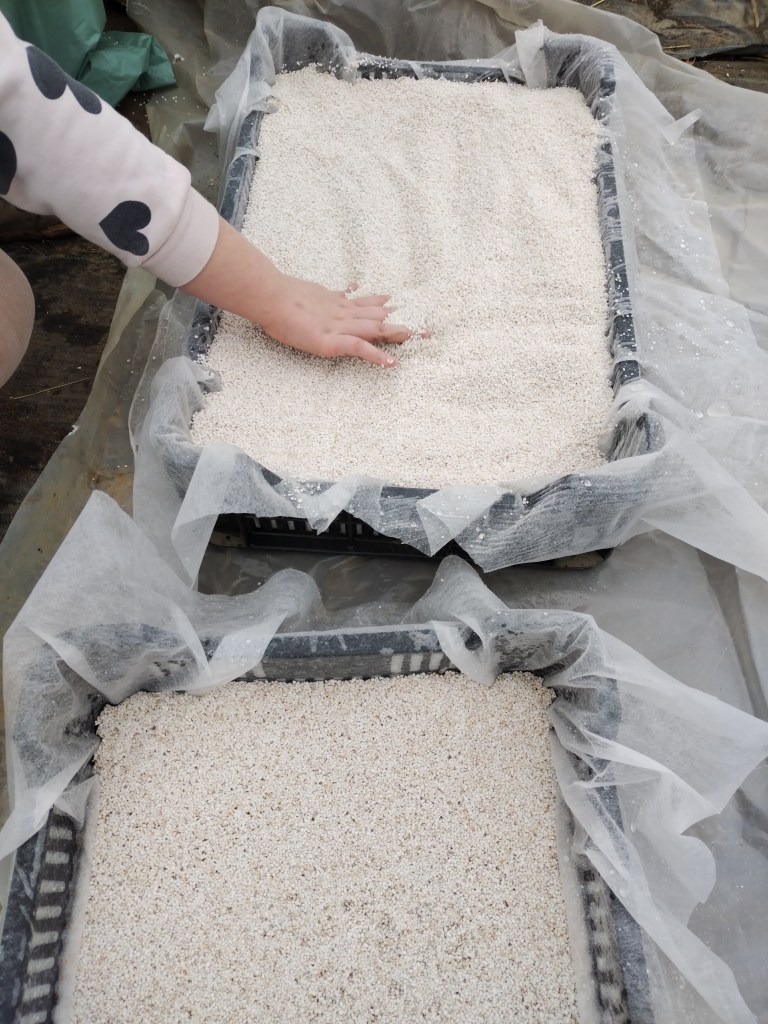
🔹 Small pots or a nursery tray – for rooting
🔹 Well-draining soil mix – light and airy soil helps root formation
🔹 A warm, shaded spot – to protect young cuttings from harsh sun
You will need a guardian for the cuttings 😉 attract one of the most effective insect collector, the green toad or any other toads to help you out.
Step-by-Step: How to Take and Root Berry Cuttings
1️⃣ Choose the Right Time & Plant
📅 Best time: Early spring or late autumn (while the plant is dormant or before vigorous growth begins).
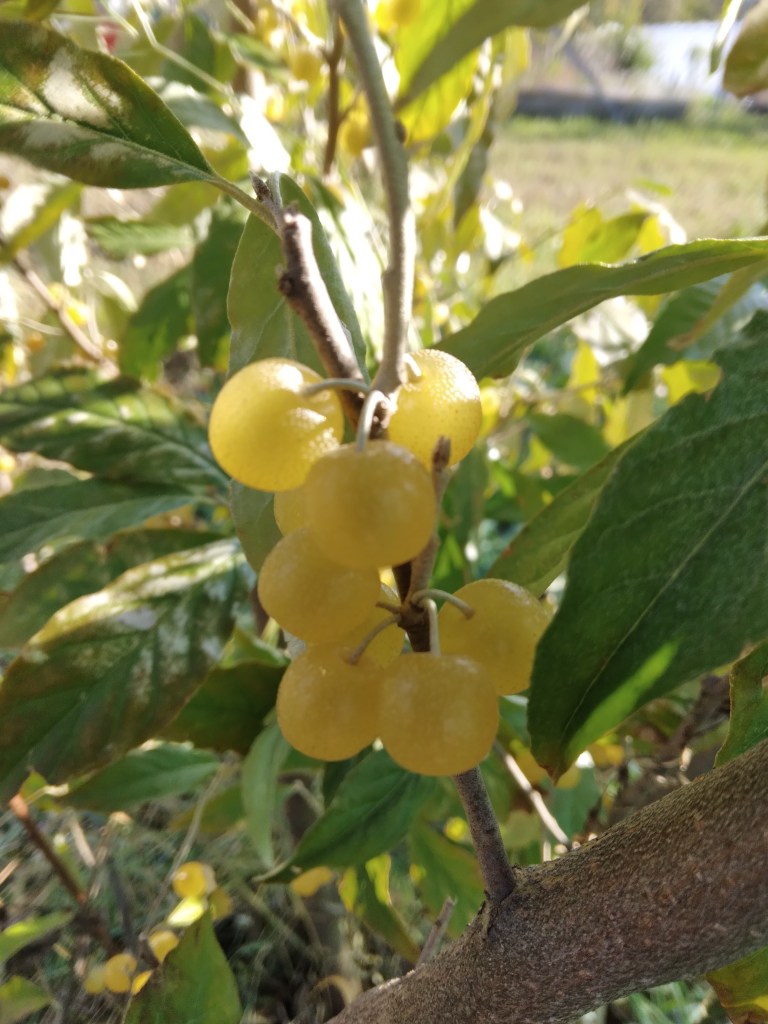
🌱 Best plants for cuttings: Blackberries, elderberries, currants, gooseberries, and some blueberries.
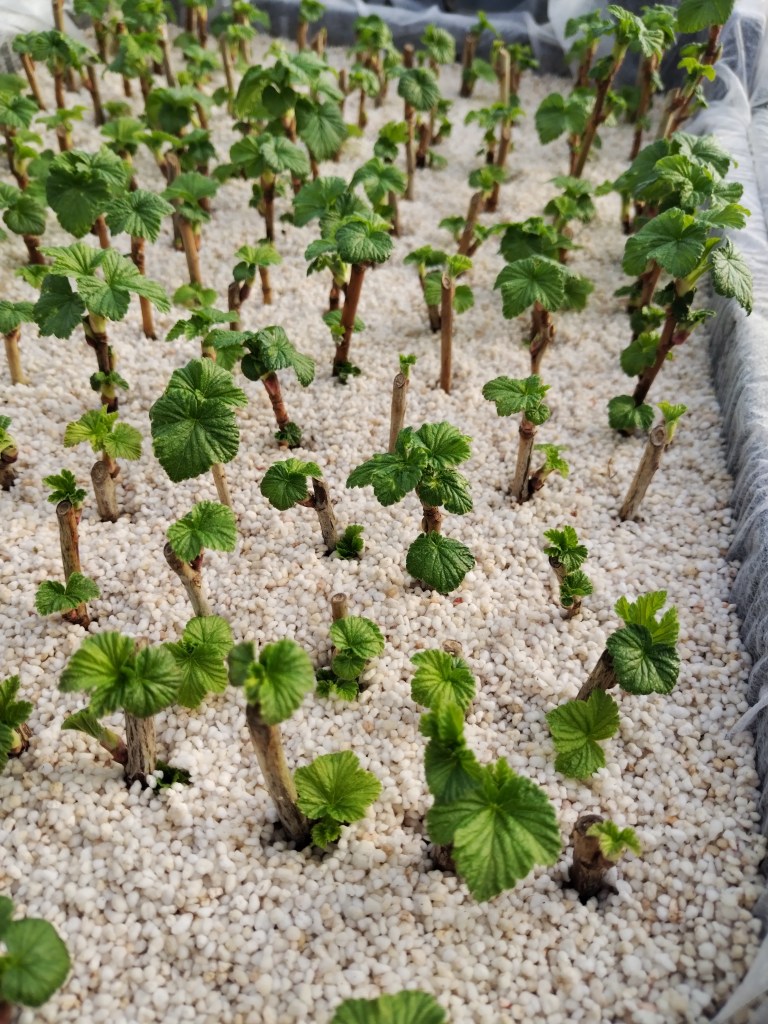
3️⃣ Plant the Cuttings
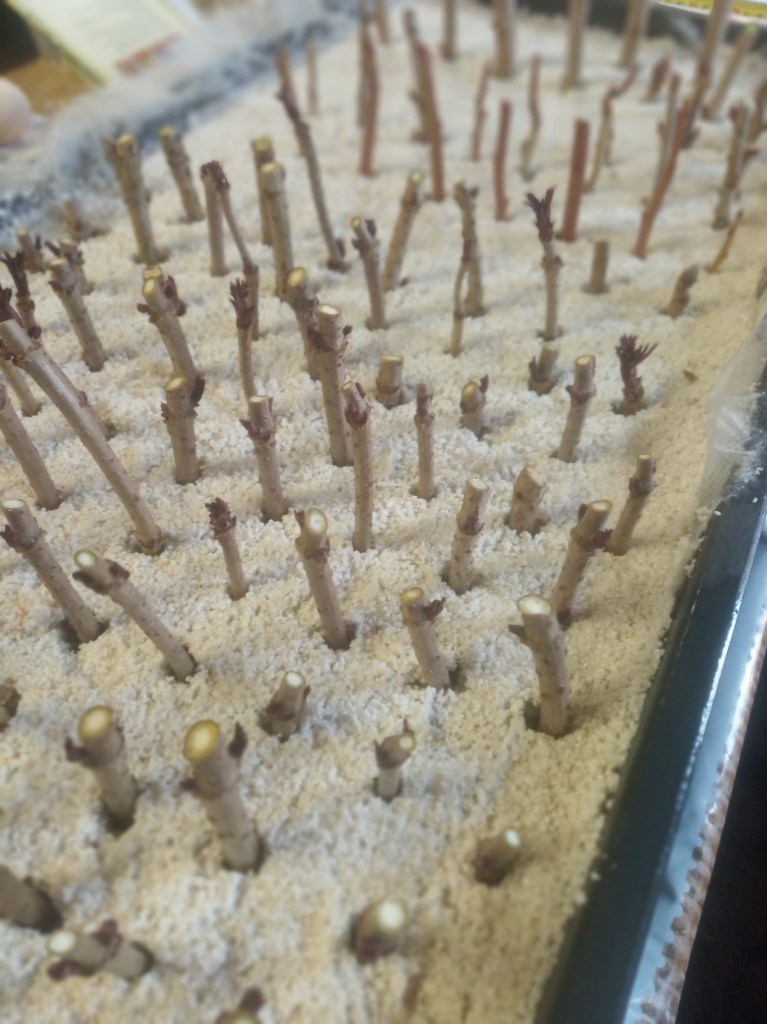
🌱 Stick the cuttings into well-draining soil – about halfway in.
💧 Keep the soil moist (not soggy!) to encourage root growth.
🏡 Place the pots in indirect light or a shaded area to avoid drying out.
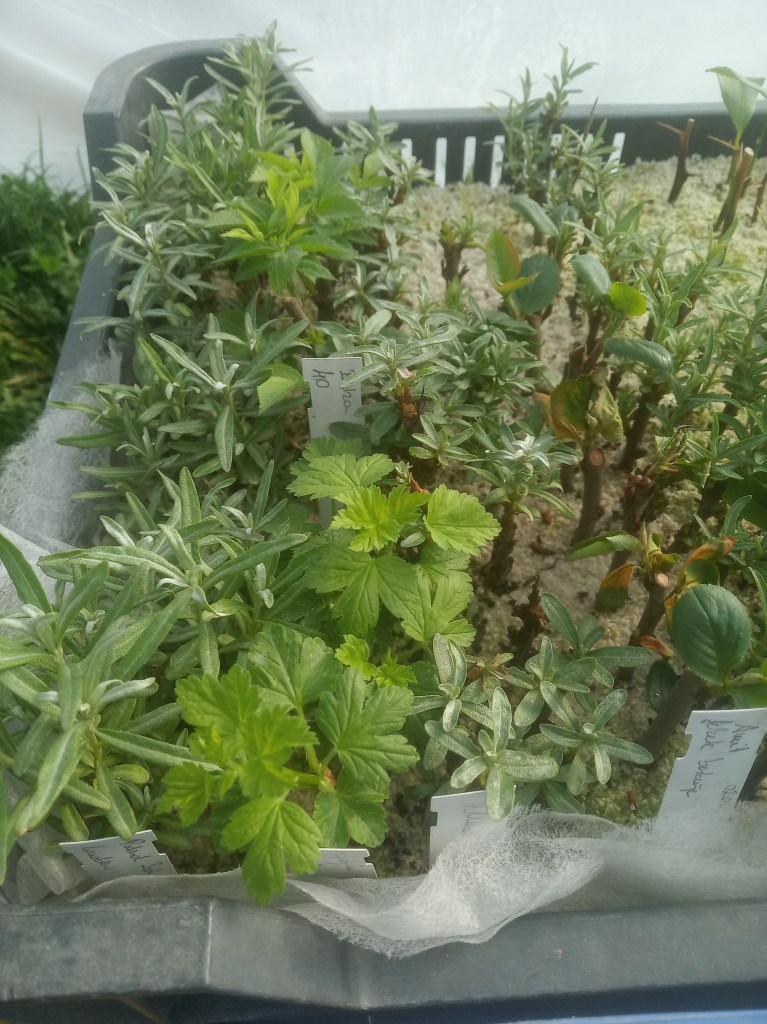
4️⃣ Root Development & Transplanting
⏳ Check for roots after 3-6 weeks by giving a gentle tug.
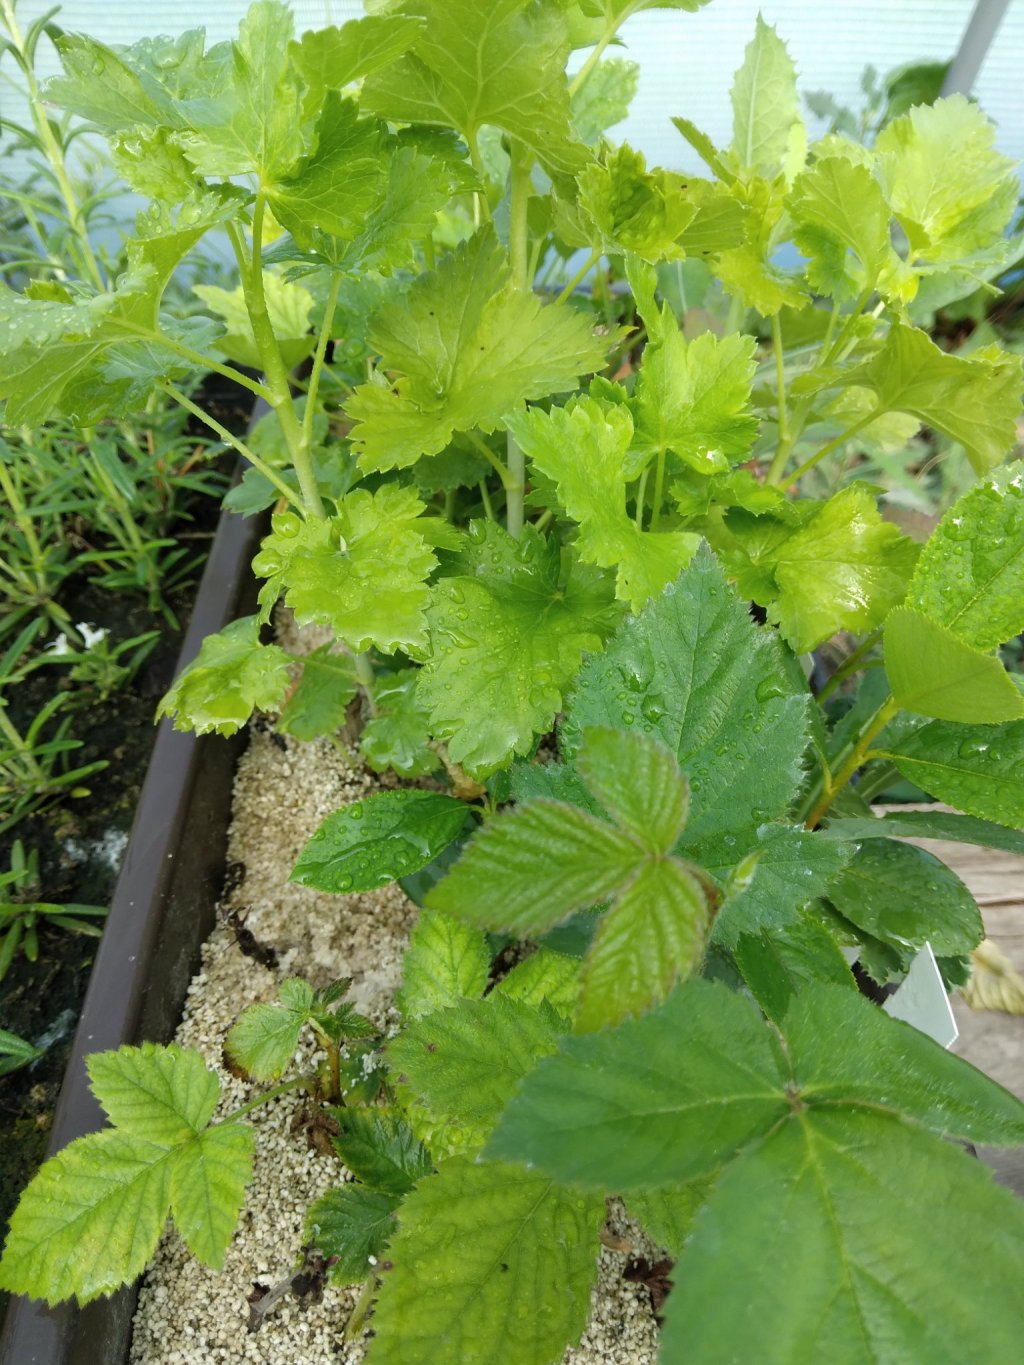
🌿 Once roots are well-formed, transplant into larger pots or directly into the garden!
Common Mistakes to Avoid
🚱 Overwatering → Leads to root rot! Keep the soil damp, not soaked.
🌞 Too much sun too soon → Cuttings dry out easily—protect them!
🌱 Cutting too young or too old → Soft green stems wilt, overly woody ones don’t root well.
Final Thoughts: Start Your Own Berry Patch Today!
Growing berries from cuttings is an easy skill that saves money and expands your garden—once you try it, you’ll never stop! With just a few simple steps, you can fill your garden with fresh, delicious berries for years to come.
Planning ahead is key for successful cuttings—learn how to prepare your garden in advance.
Have you tried propagating berries before? What worked (or didn’t work) for you? Let’s chat in the comments!
I share my experience and my proven methods on my YouTube channel! Please, visit it and subscribe for more educational content. I will follow the propagation of these cuttings in videos 😉
Please, share this post with a fellow gardener who would love homegrown berries!

Leave a reply to Free cuttings are on their way – Update Week 7 – Green to Green Cancel reply